So it’s been a while since my last post… After a bit of a hiatus, I’m back in the swing of things. Given the setbacks of the first batch, I was really unsure whether the cold we experienced this winter would allow me to ever get that cacao nibs to melt.
About a month ago, I started up again, the ambient temperature was over 40° F, which meant that it was still chilly, but not too much so. I tried a few different recipes with success. Below is a brief outline of each batch.
Batch 2 (Batch 1 was the failed attempt) – Anne’s Surprise:
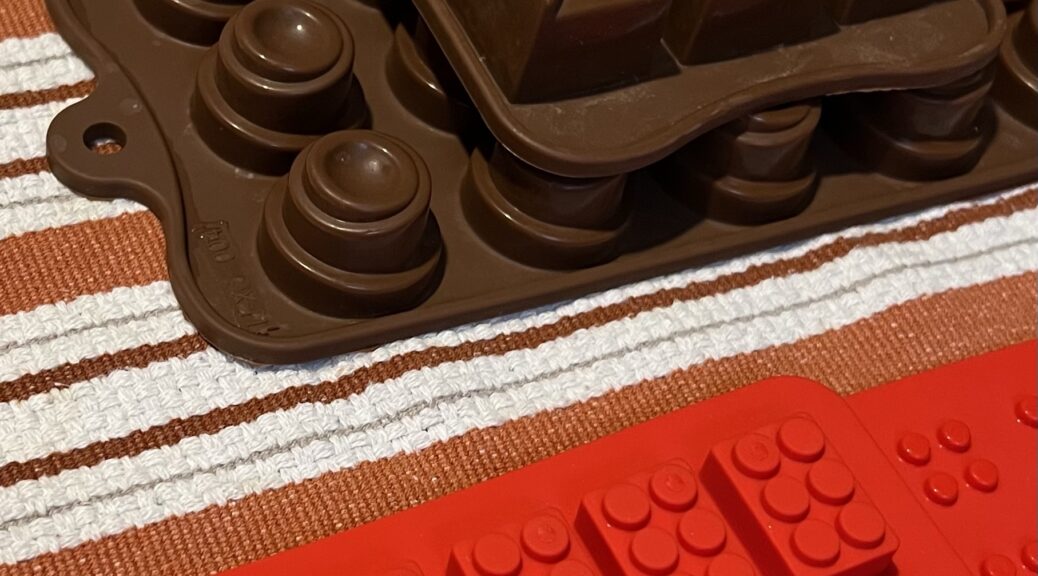
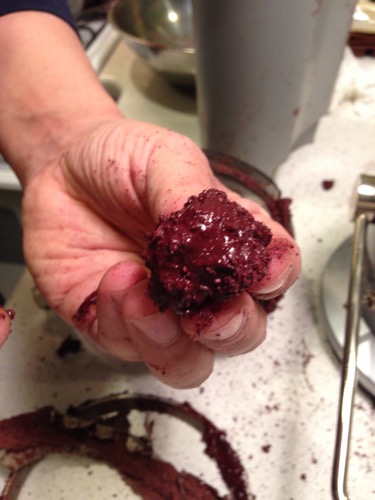
Monet’s mother was visiting and it got me inspired to try anew. I worked with about 200 grams of beans, and went through the process. At first, I tried to use the juicer, but again went through the more and more refined powder phase (see previous posts on this). So I switched over to the grinder (Gandhi imports!). With applied heat from the hair dryer, it took about 5 minutes for the cacao to transform into a liquor (based on later investigations, I’m not sure I even need the hair dryer). I let it grind for another 10-15 minutes (i.e. 15-20 minutes total), before I added it some of the raw sugar in there. I pre-processed the sugar by grinding it with a coffee grinder. This created a fine powder of sugar that was easy to blend it. I used about 40 grams of sugar, resulting in an 80% cacao dark chocolate (after roasting, and winnowing, I lost about 40 grams of cacao nibs. I left the sugar and cacao mix blend for about 25 minutes. I poured the mixture into forms, and let the mixture solidify at room temperature. After a couple of hours we were able to test the chocolates.
The results: Tasty! I could taste the bitterness and grittiness of the cacao. This meant that I could adjust the roasting, and let the grinder go longer, but we had chocolates, and they didn’t taste like crap! Of course, I was missing many of the ingredients. Furthermore, I didn’t temper the chocolate (but it looks like it didn’t really need it). Overall a success!!
Batch 3 – Foundations:
We had our dear friend Cathy visit us for a couple of nights. Enjoyer of fine foods, I knew that Cathy would like some home made chocolates. My goal with this batch was 2-fold: a) Firm up a basic recipe that I could work from, and b) adjust the blending slightly to see the differences in results. They all used the 300/30 recipe for roasting, and all had 30 minutes of grinding, but there were three versions of blending a) 30 minutes; b) 60 minutes; c) 90 minutes. c) had the added modification of having cacao butter added in, about 40 grams. All had the same amount of sugar, making it an 80% cacao dark chocolate. Given that c) had cacao butter added, it made it closer to 85% cacao.
The results: Delish! You could definitely tell the difference between the different levels of blending. You could still taste some of the grittiness and bitterness:
Lessons: I had a few of lessons:
- Our oven heats higher than set. So the 300 temp, read as 330/350 on our temp gauge. In the future, I’ll lower the temp.
- This chocolate can travel. Cathy took some back to Barcelona, and it didn’t really melt. Of course, we had packed it to stay cool, but her travel was long enough that they cooling stones had long run their course.
- I can grind this further.
Batch 4 – Sushi and Chocolate:
We played hosts to our dear friends Jeff and Tanya as they were transitioning from one house to another. They stayed with us for a couple of days. On our second night, we enjoyed outstanding sushi from Hana Sushi, down the street from our house. As a dessert, I prepared a new batch of chocolate, with my last 300 grams. This time, I set the oven to 250 degrees, and roasted for 35 minutes, to let the flavor develop a bit more (It seems I could let it go even longer). Grinding for 45 minutes, and blending for another 45. I made a second batch where I added about 85 grams of cacao butter – a mistake it turns out. I also added a couple of drops of vanilla liquor (~ 1 Tbsp) at the start of the blending process to add flavor.
Results: Another great batch. The addition of cacao butter made it a bit too light and too buttery. Just a little too much. I can work on this. Overall a great batch!
On a side note, I had so much left over for Batch 4, that I was able to have some extra for others to taste. I had a colleague try them out, and they had some thoughts on the business model I’ll be working on that in the next couple of weeks, but the big news, is that WE HAVE TASTY TASTY TASTY CHOCOLATE!
Check out the recipes pages for more details.


